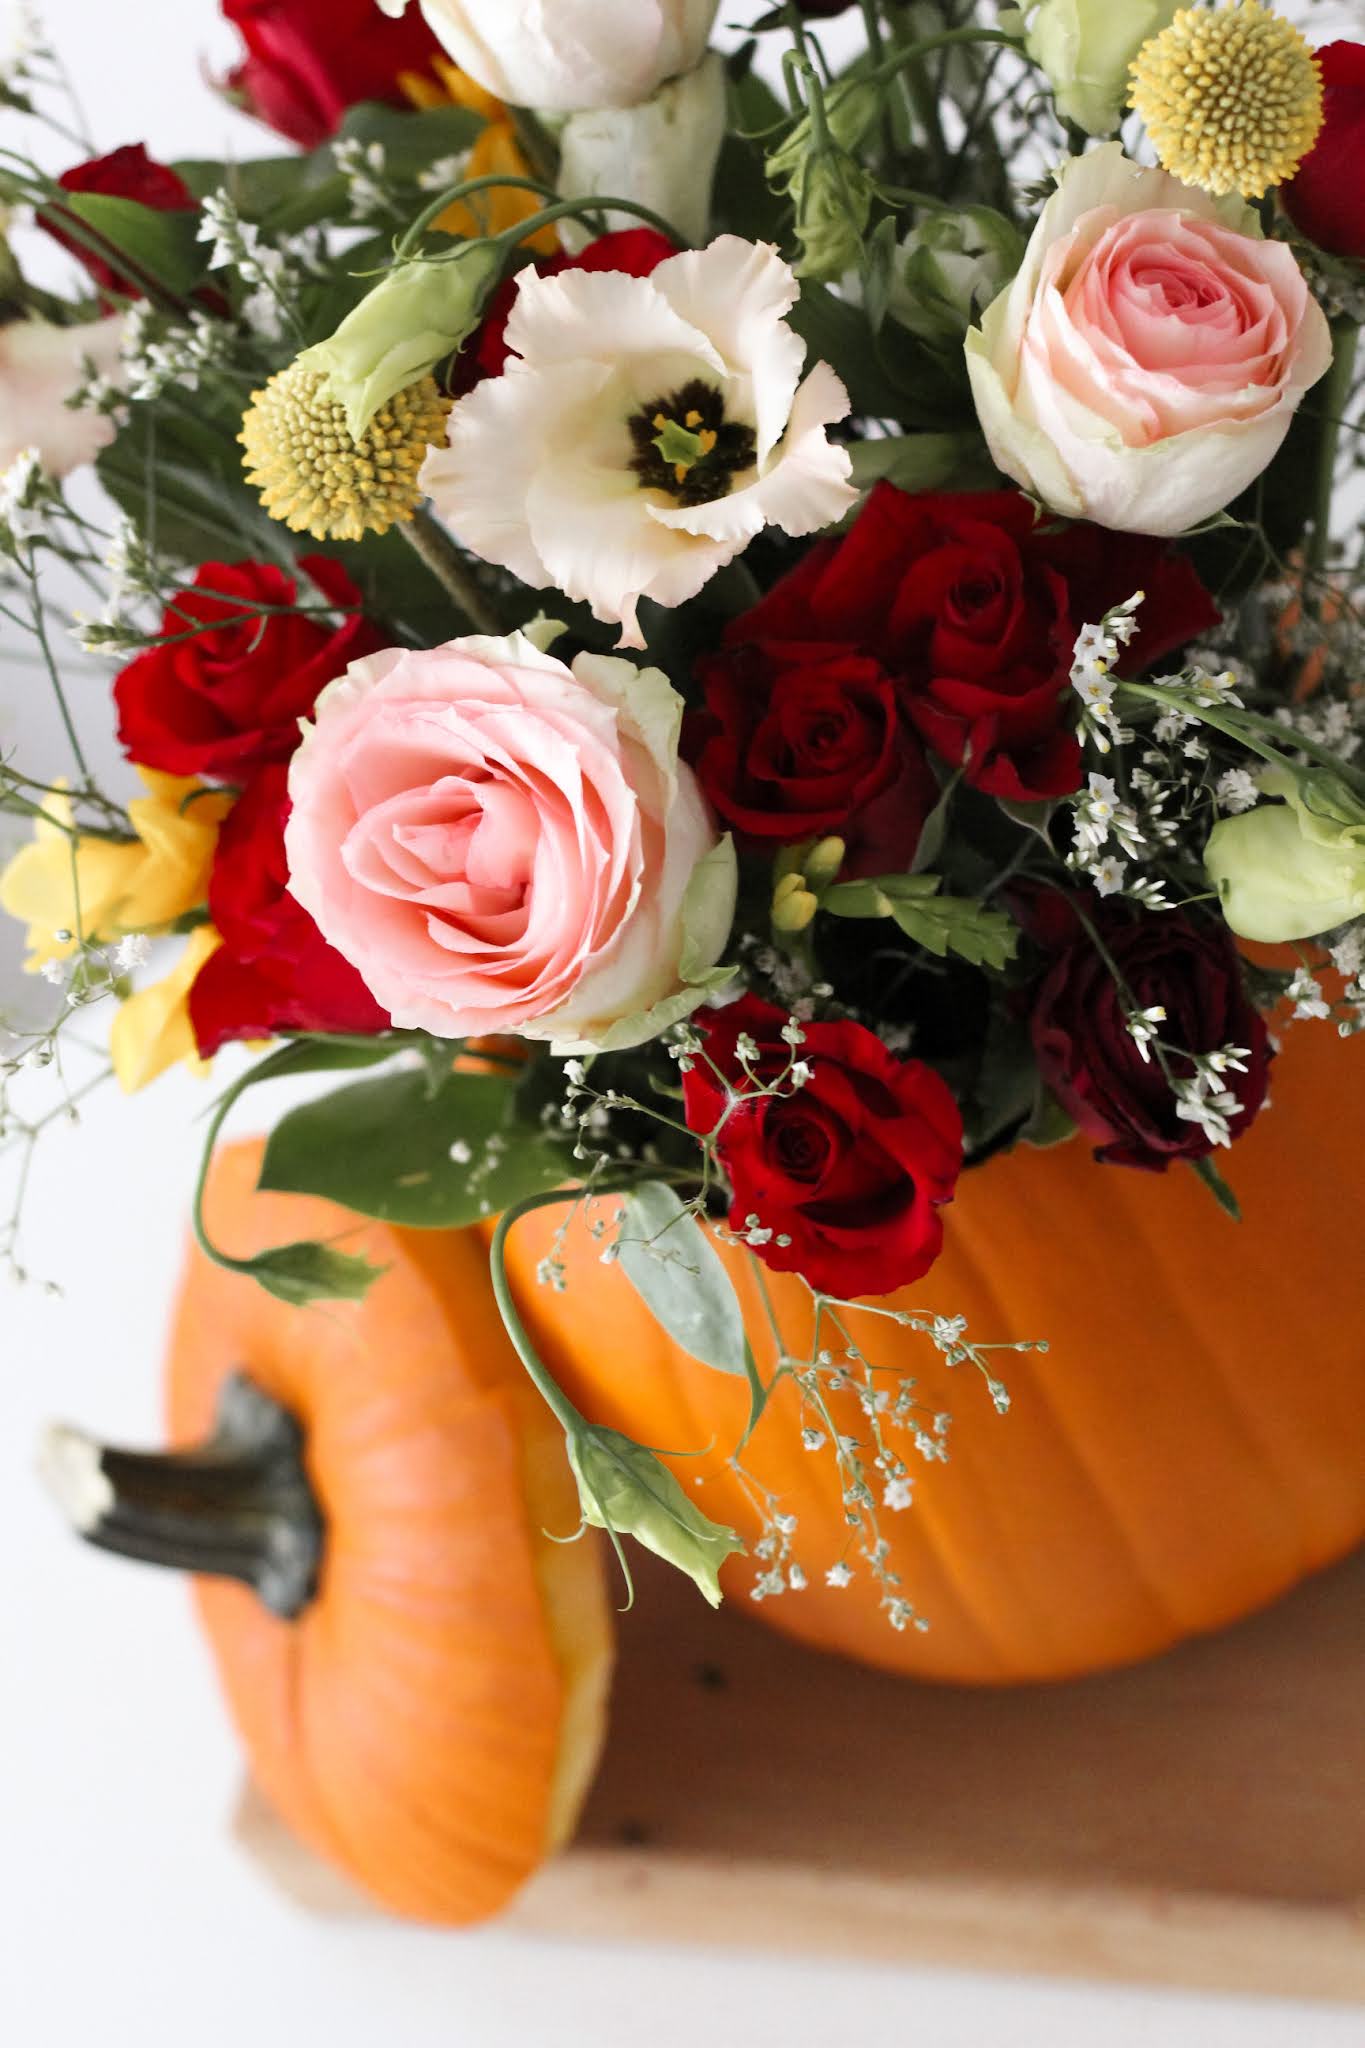
If like me, you'd prefer to opt for a prettier take on pumpkins at Halloween rather than frightening ghosts and ghouls, you've come to the right place. In this post I'll guide you through how to create a pumpkin flower arrangement like the one I've made below.
What you'll need
- A large pumpkin
- A knife for carving
- A pencil
- A bowl
- Autumnal flowers
- Floristry scissors
- Floristry oasis
How to create your floral pumpkin arrangement
- First you'll need to prep your pumpkin. Ensure your flowers are kept in cool water while you're doing this so that they stay hydrated. You'll need to carve the top off of your pumpkin, you could choose to do this in a curved line or in a zig-zag fashion. I've chosen a curved line for this particular pumpkin. To get a precise line, turn a bowl upside down over the top end of your pumpkin, draw around the edge of the bowl with a pencil, then remove the bowl. Now you have a nice neat line to use as a guide. Stick your knife in and out of the pumpkin to make the first cut, and repeat this process until you've cut all the way around. You should now be able to pull the top off so it becomes the lid.
- Using your hands or a utensil, empty out the contents of the pumpkin as best you can. Put the seeds and flesh to one side in a bowl so that you can make the most out of them later in recipes. Meanwhile, measure out the size of your floristry oasis. This will be sitting inside your pumpkin, so it needs to be able to fit comfortably. Soak your floristry oasis in cool water in the sink so that it absorbs all the moisture.
- Once it's fully absorbed, put your oasis block into the inside of your pumpkin. This will be holding your flowers in place and providing them with the water they'll need to keep them looking good.
- Prepare your flowers by splitting them into types. For example, put all your red roses into one section, pink in another, and foliage in another. Strip off any leaves that will not be visible or will get in the way of your arrangement. I like to keep a few of the top leaves to bulk out the arrangement and keep it more natural but this is entirely up to you.
- Measure your first flower stem down to size by carefully snipping at the bottom of the stem a few cm at a time. Gently insert the stem into the oasis until it stands alone, is secure and sits at the desired height above your pumpkin.
- Build out your arrangement around the first stem by considering colours, textures and varying heights. You can also try inserting the stems at a diagonal angle so that some of the flowers elegantly hang over the edge of the pumpkin, disguising the raw edge from sight.
- Once you're happy with how it looks, pop it on display on your side table or even as a centre piece at the dinner table while you enjoy a comforting autumnal feast.


Post a Comment