LIFESTYLE AND ADVICE

Thursday 5 May 2022

Staycation Outfits for a Luxury English Hotel Break

floral dress

A few weeks ago, we were lucky enough to enjoy a beautiful overnight stay at a stately Victorian mansion turned hotel in Wokingham, Berkshire. During our stay at Easthampstead Park, we indulged in a romantic dinner for two, a couples gym session at their on-site EastPark gym, a delightful afternoon tea and a traditional English breakfast. Scroll down to see my outfits from the weekend and find out where you can shop them for yourself.

#AD Some items in this post were gifted as PR products. Through every purchase made via this post, I earn a few pennies back. This doesn't cost you any extra but allows me to put some funds back into improving my website.

staycation outfits for luxury hotel break

oasis fashion dress

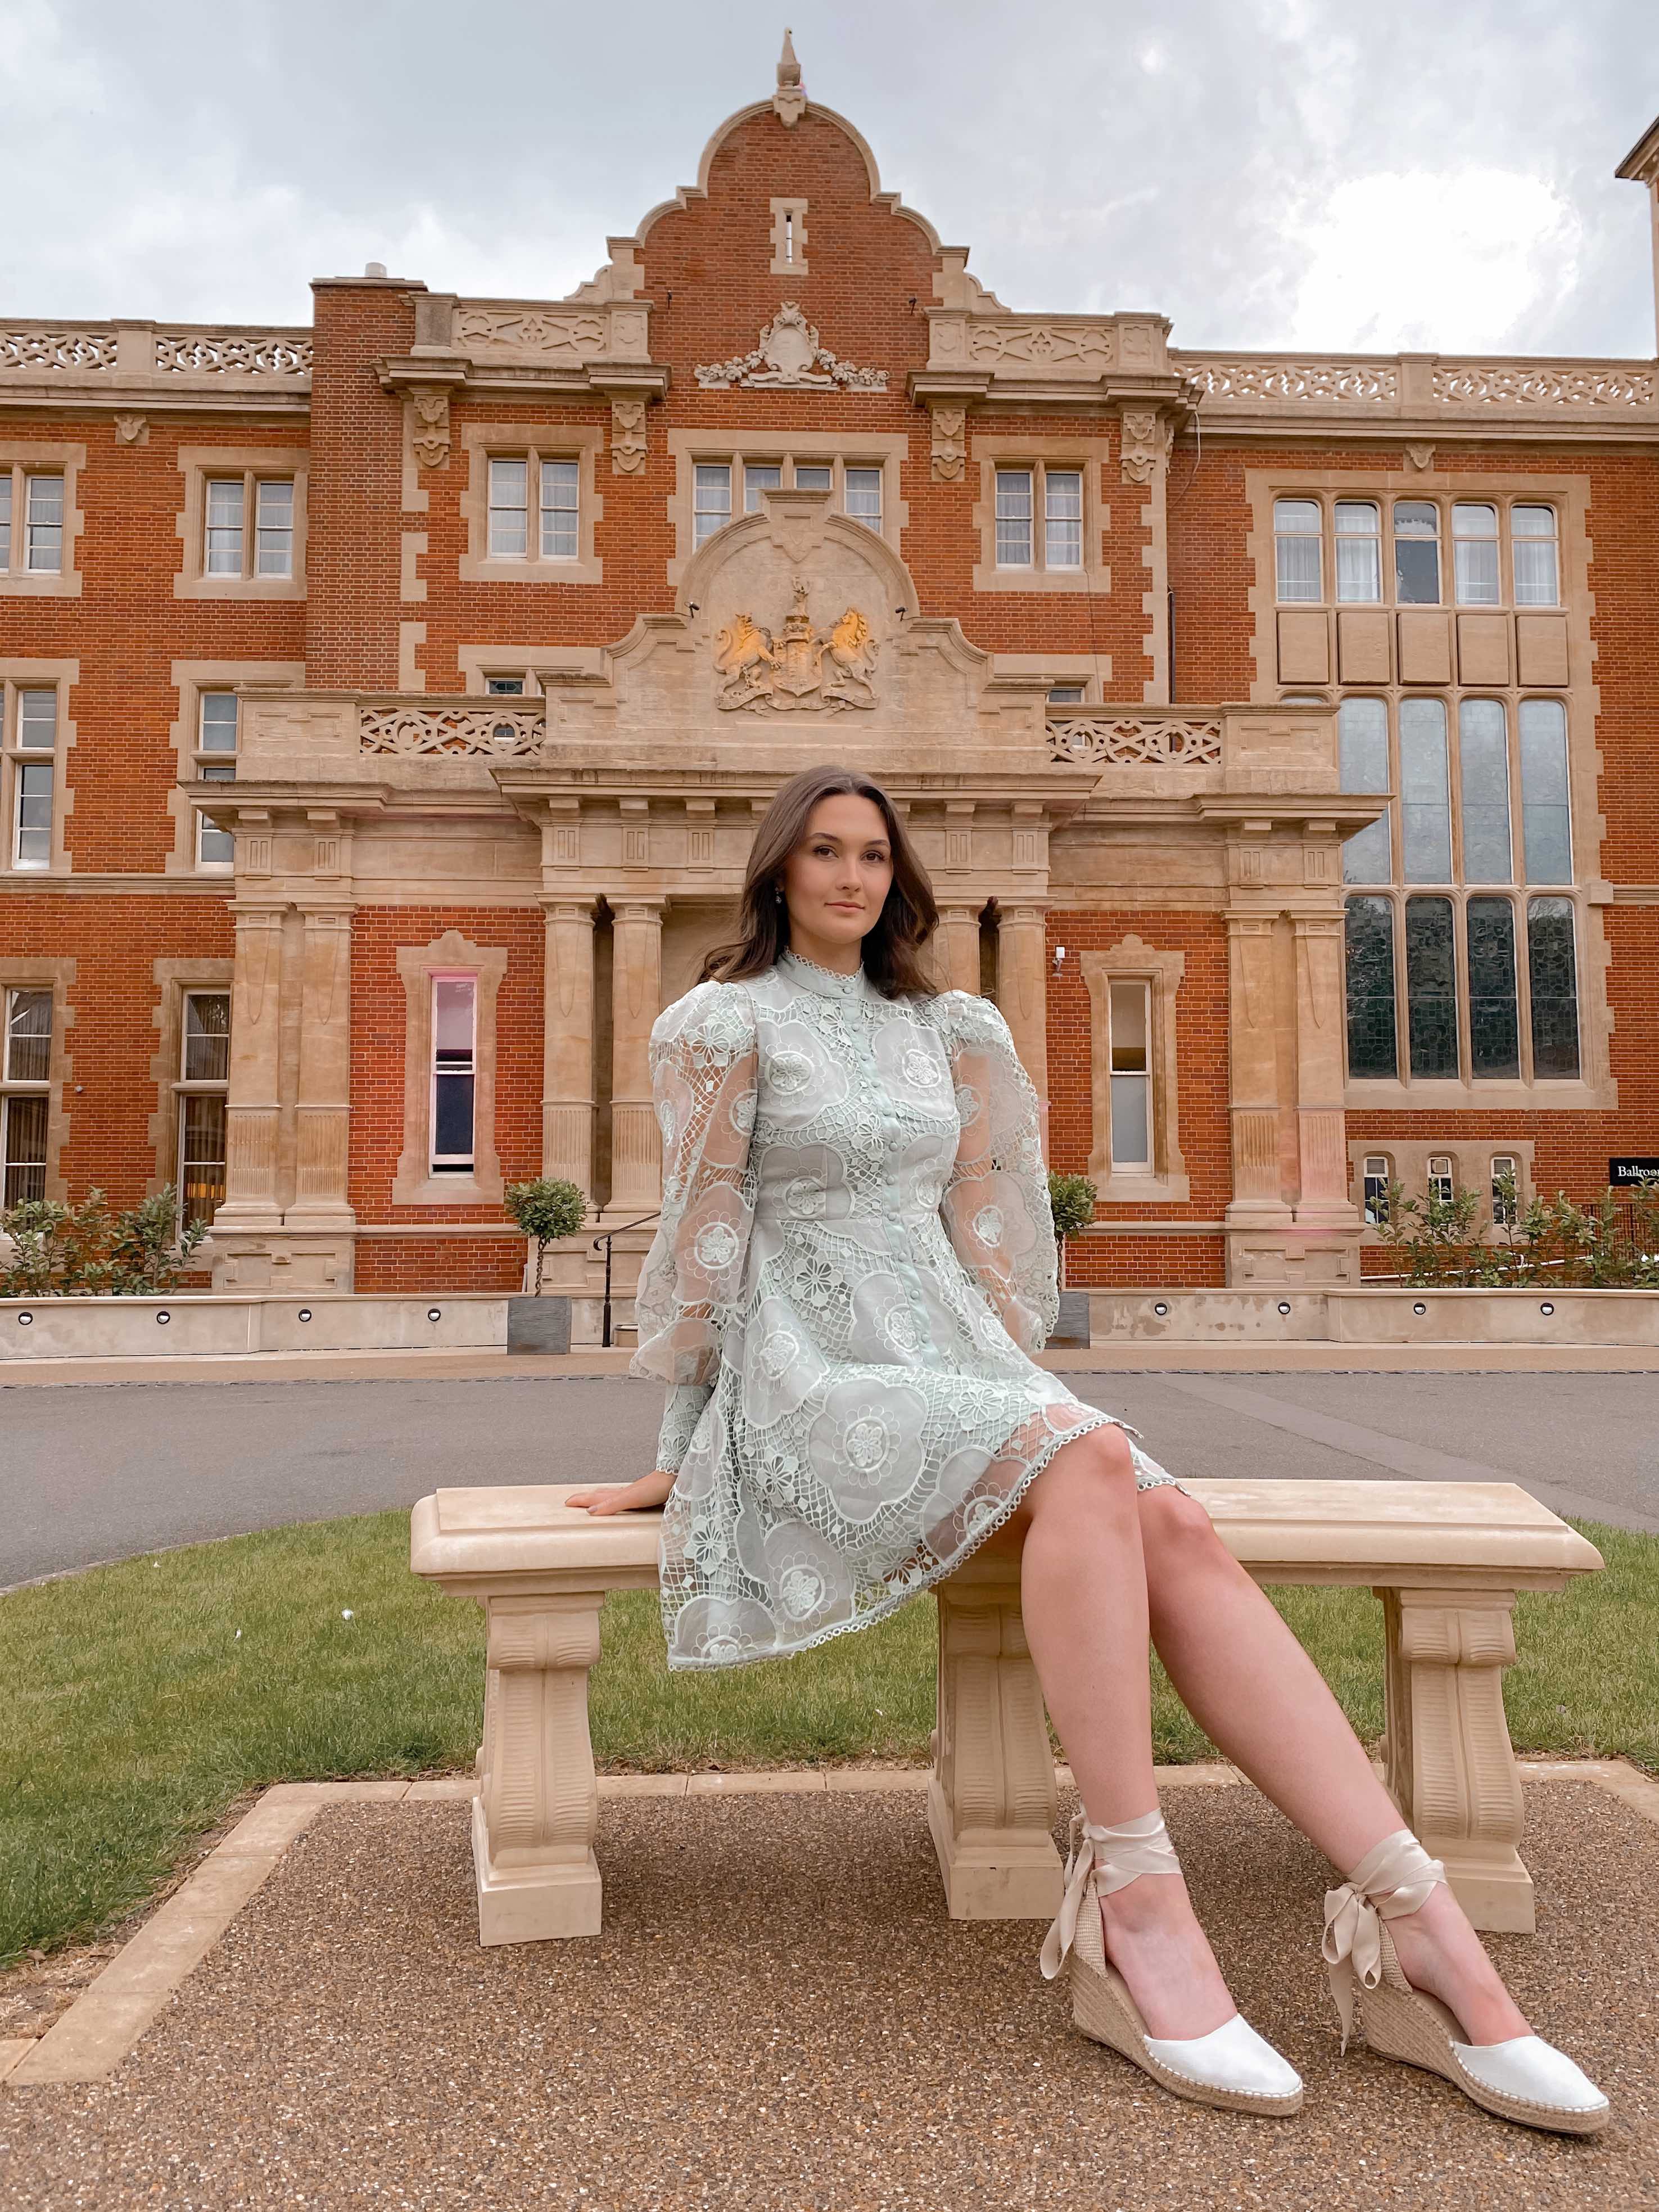
An Elegant Gown for A Romantic Dinner for Two

This stunning organza floral dress in sage green is part of the Oasis x Laura Whitmore collection at Oasis. Its intricate detail and elegant look makes it the ideal dress for a special dining experience. It would also be the perfect wedding guest outfit for a Summer wedding.

Shop the look:


oasis fashion argyle knit jumper

argyle knit jumper

A Cosy Argyle Look For A Traditional English Breakfast

Opting for comfort and practicality at breakfast time, I handpicked a cosy argyle jumper in pastel tones. Partnered with black skinny jeans and comfortable footwear, this outfit was ideal for breakfast and a stroll in the countryside after we'd eaten.

Shop the look:


floral rose dress at easthampstead park

luxury hotel break

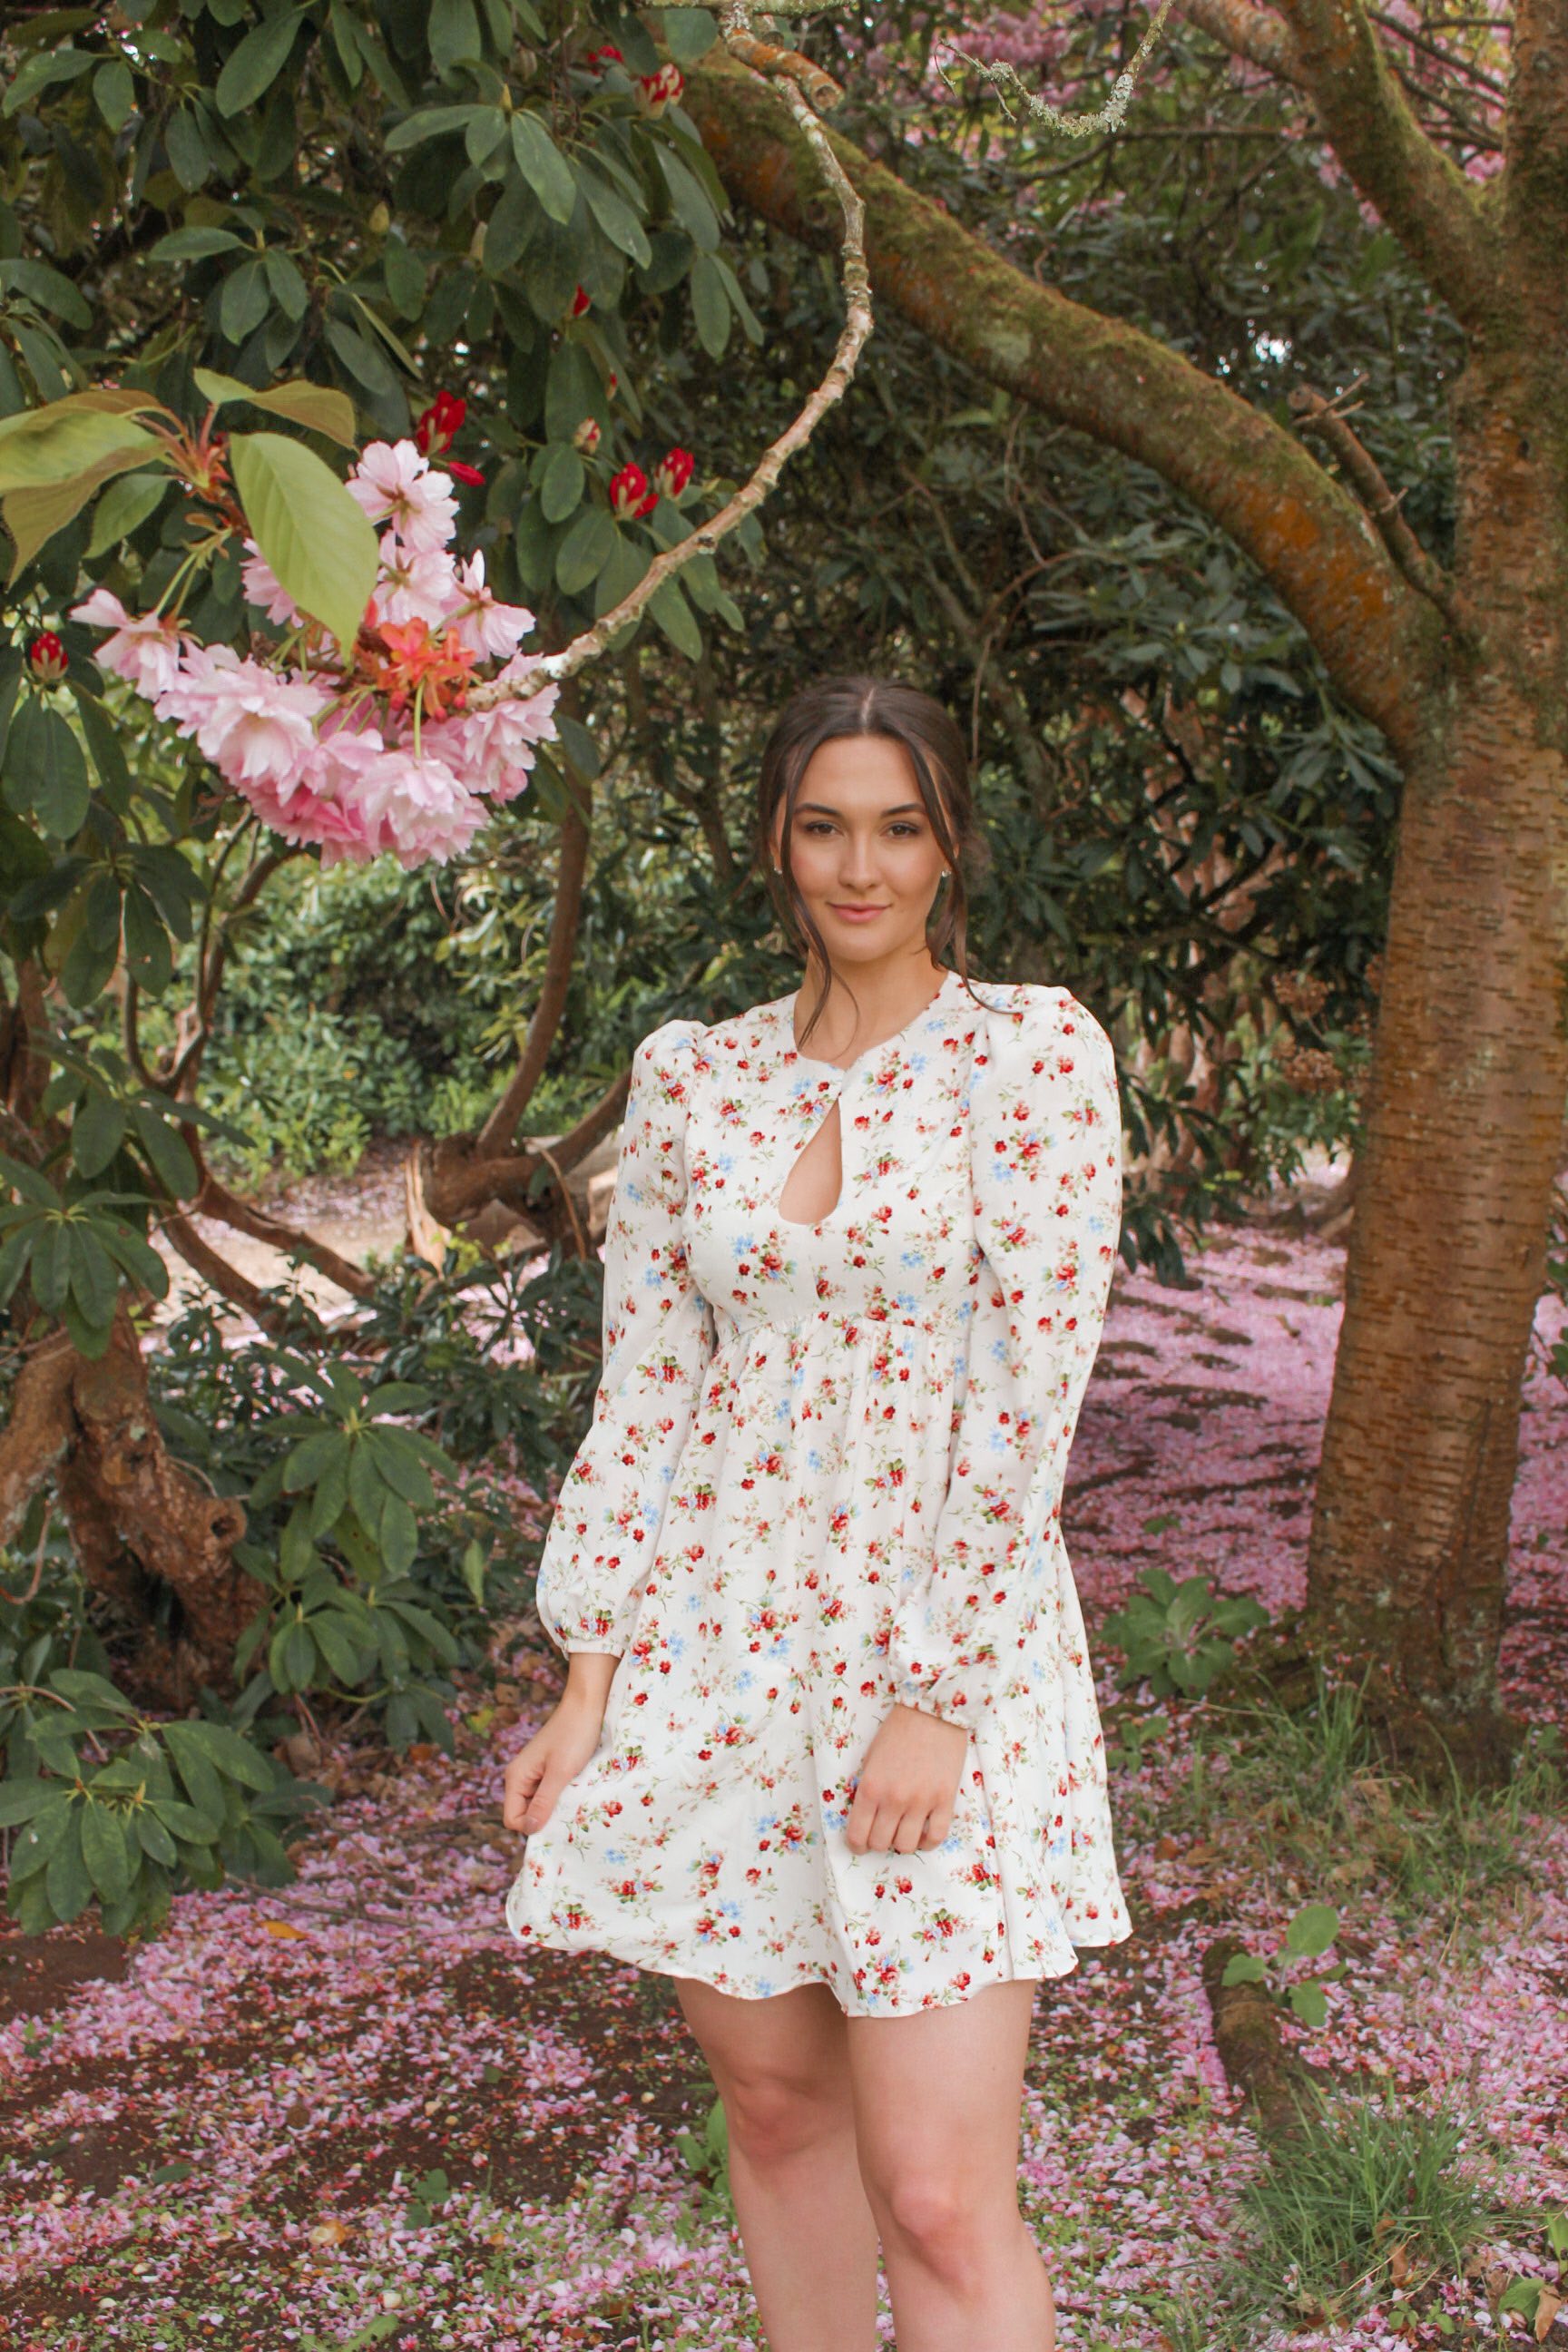
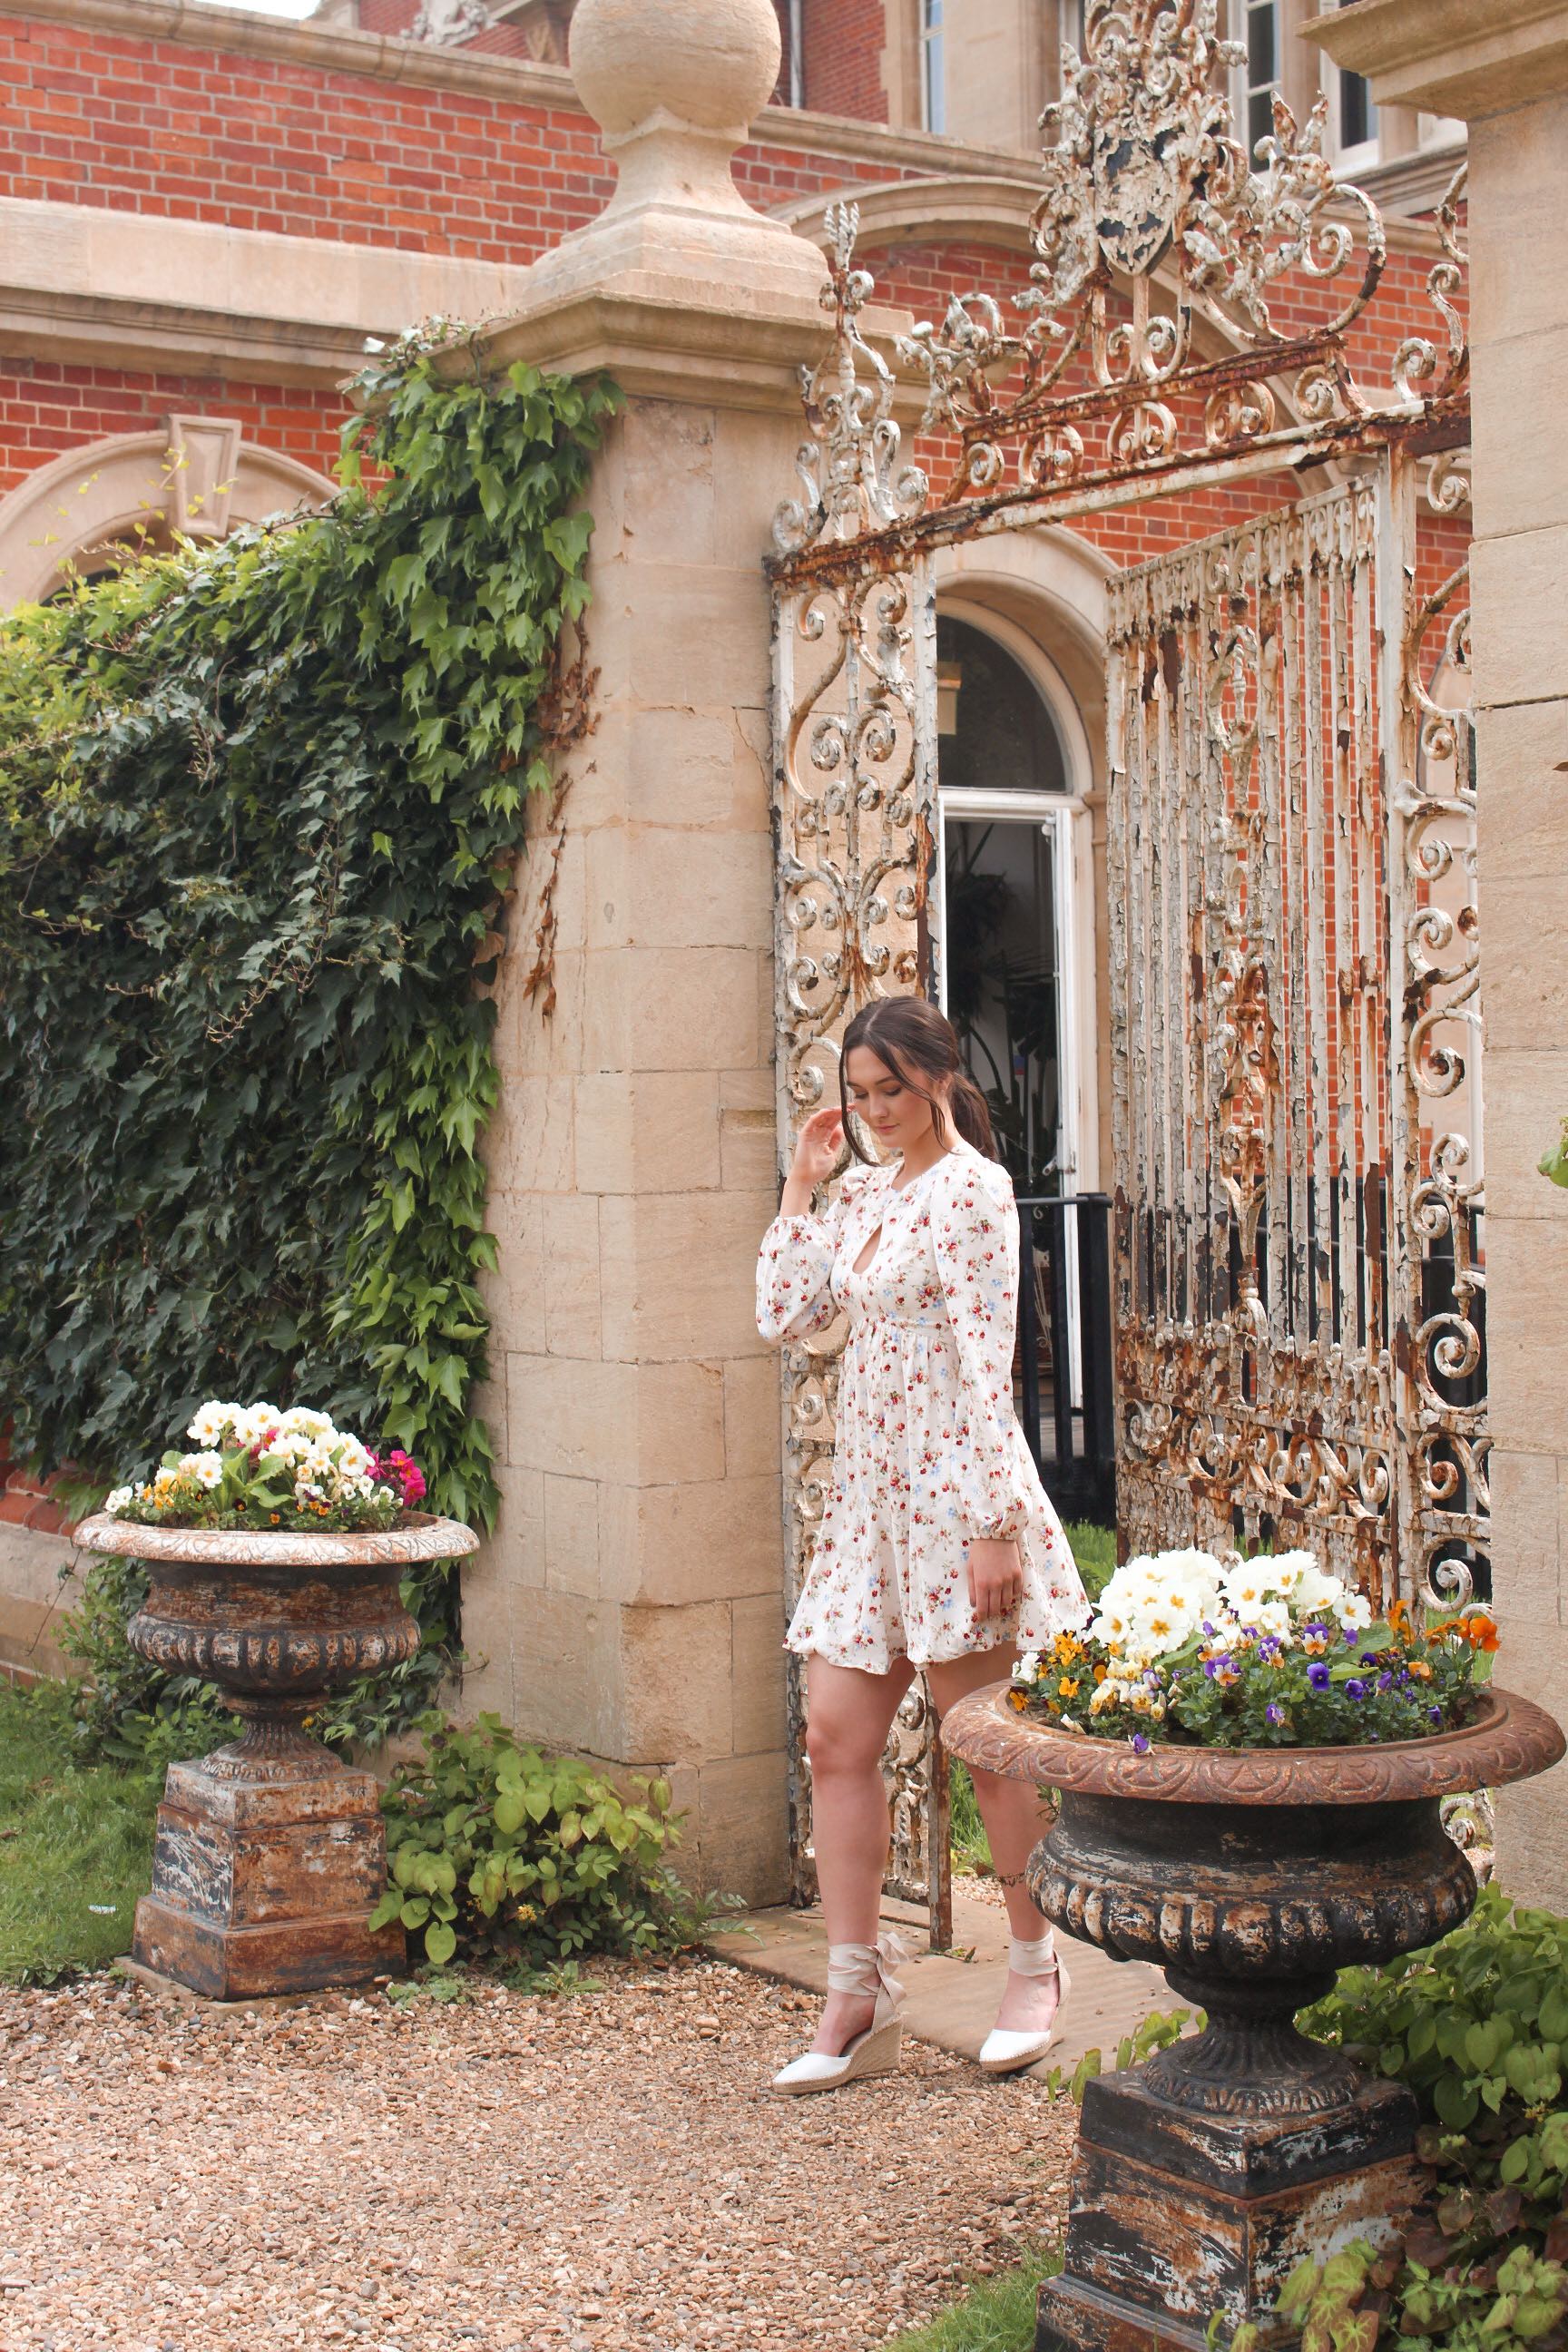
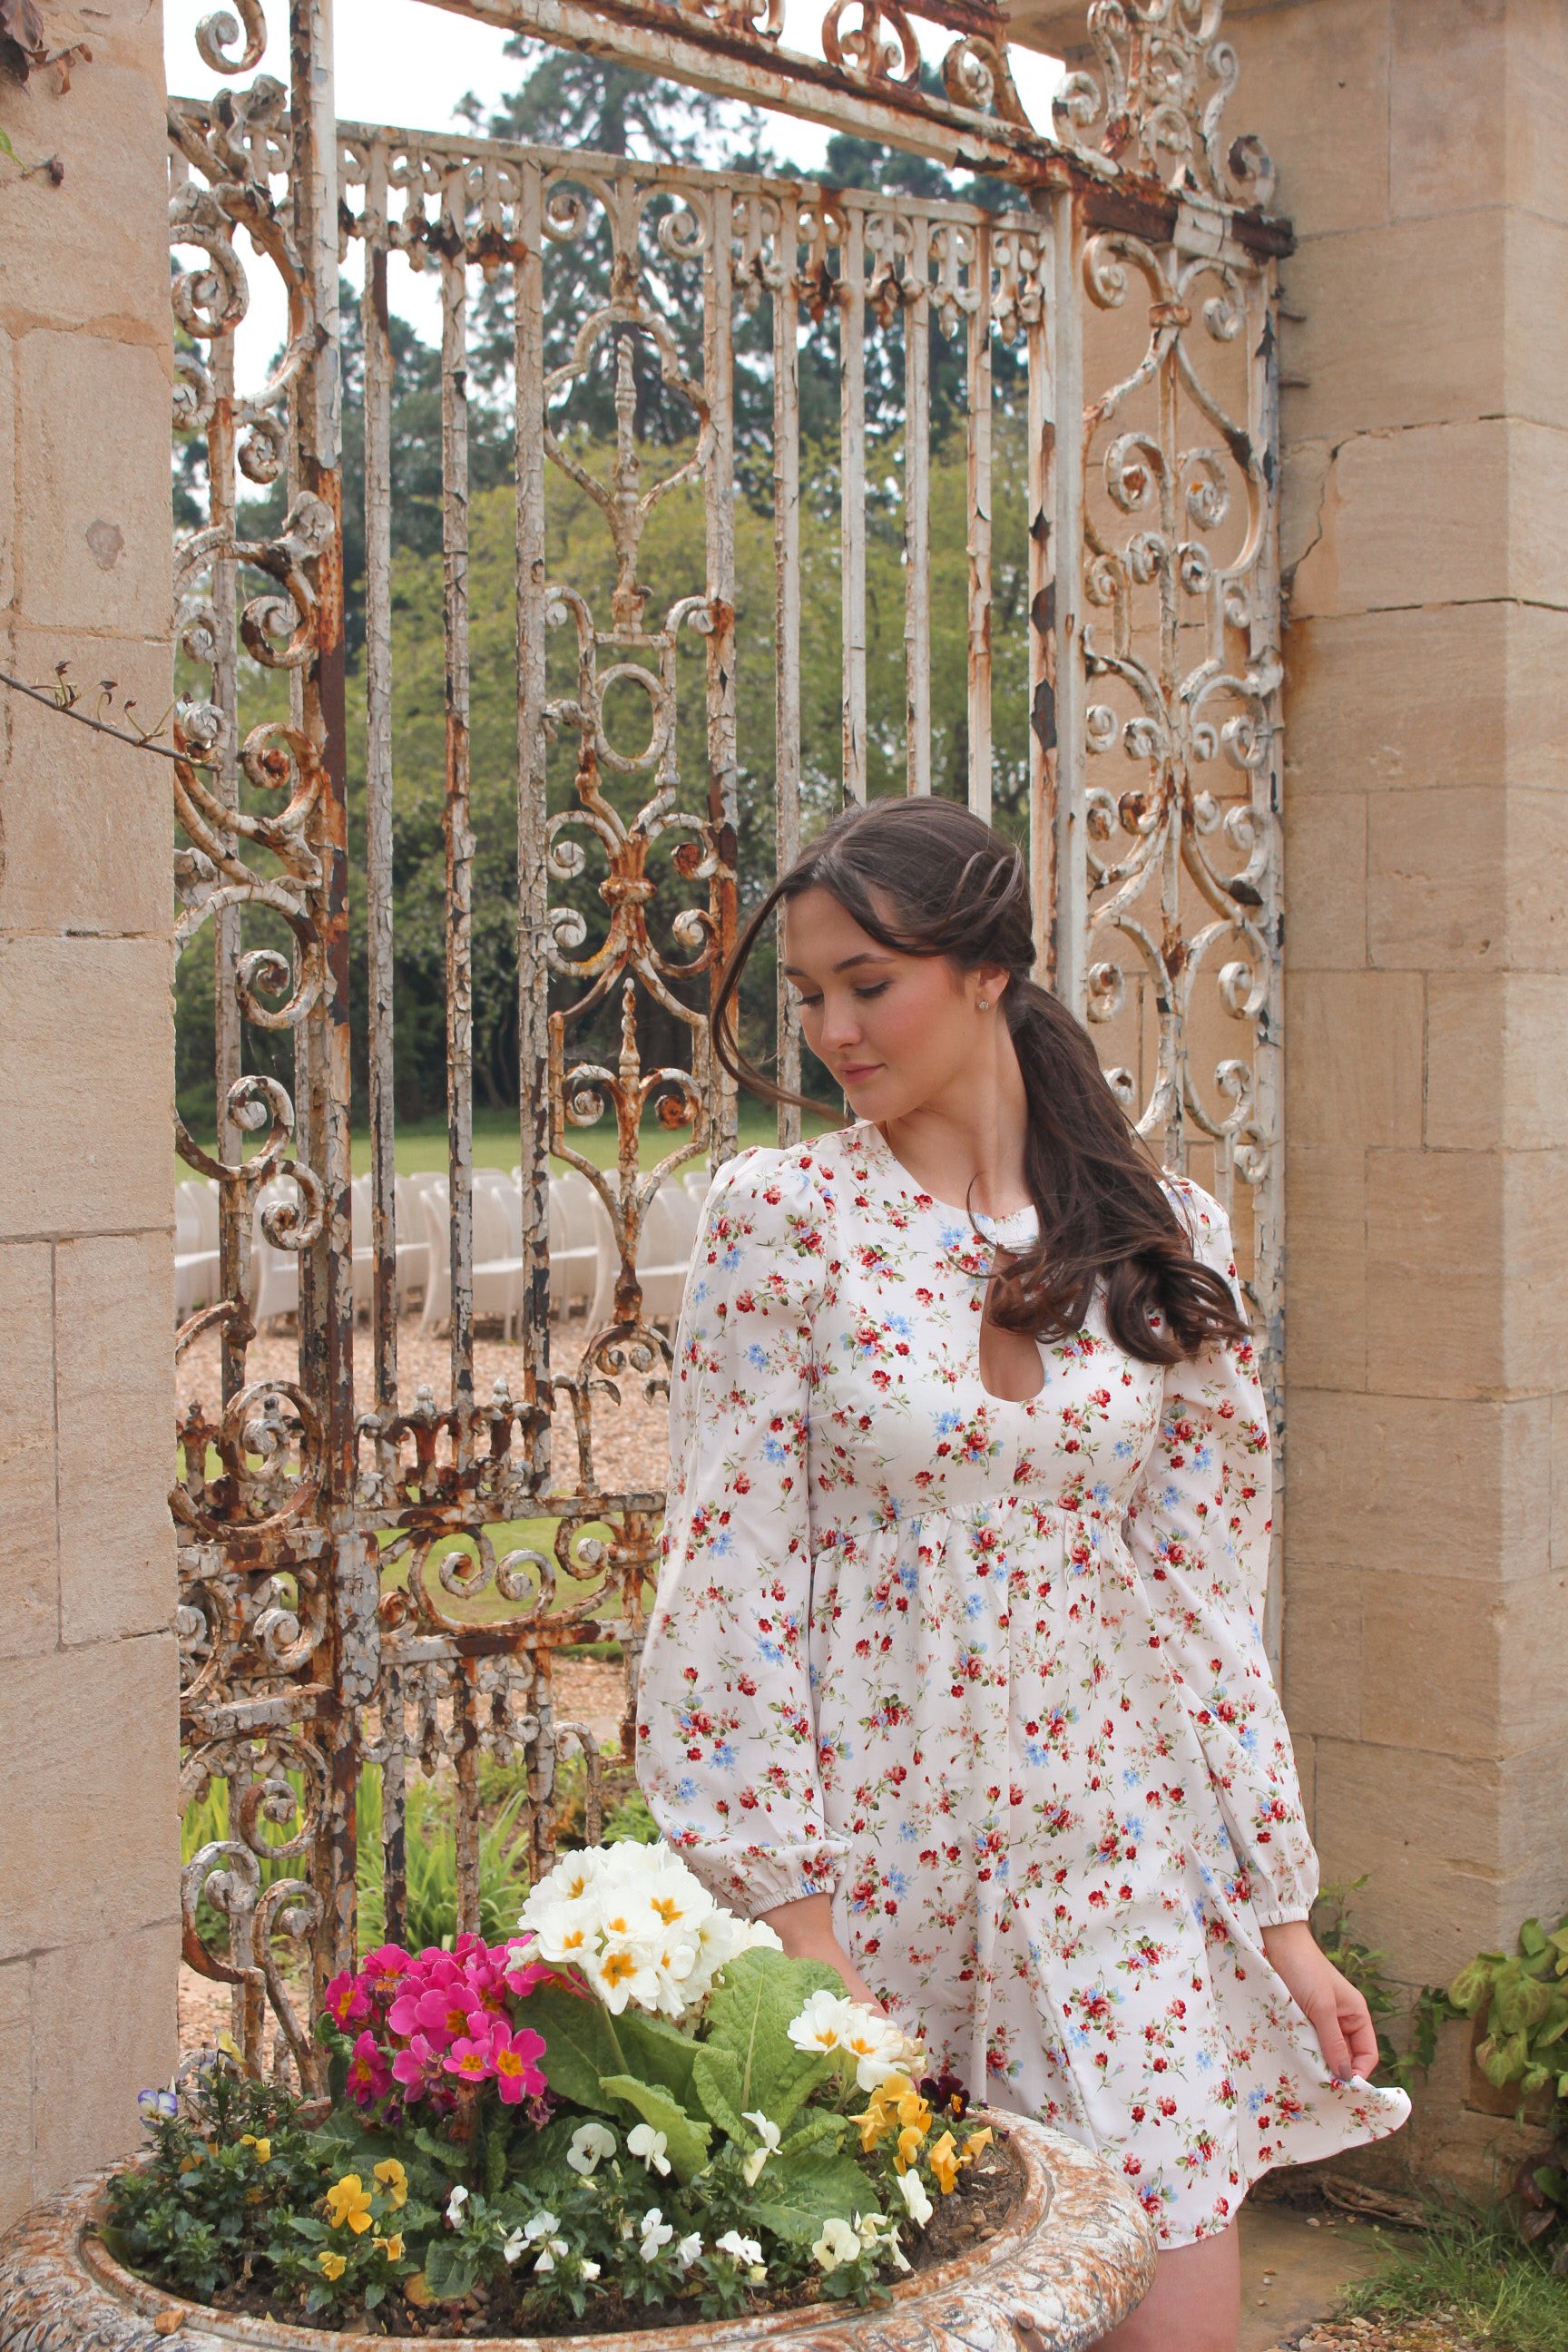
A Pretty Floral Dress for A Delightful Afternoon Tea

No matter how much I resist (which isn't much by the way), I can never not sport florals in the warmer seasons. This beautiful dainty floral print made me feel feminine, elegant and full of confidence. A dress like this deserves to be seen and worn with love. 

Shop the look:


Staycation Outfits for a Luxury English Hotel Break

Monday 18 October 2021

How to Create a Pumpkin Flower Arrangement for Halloween

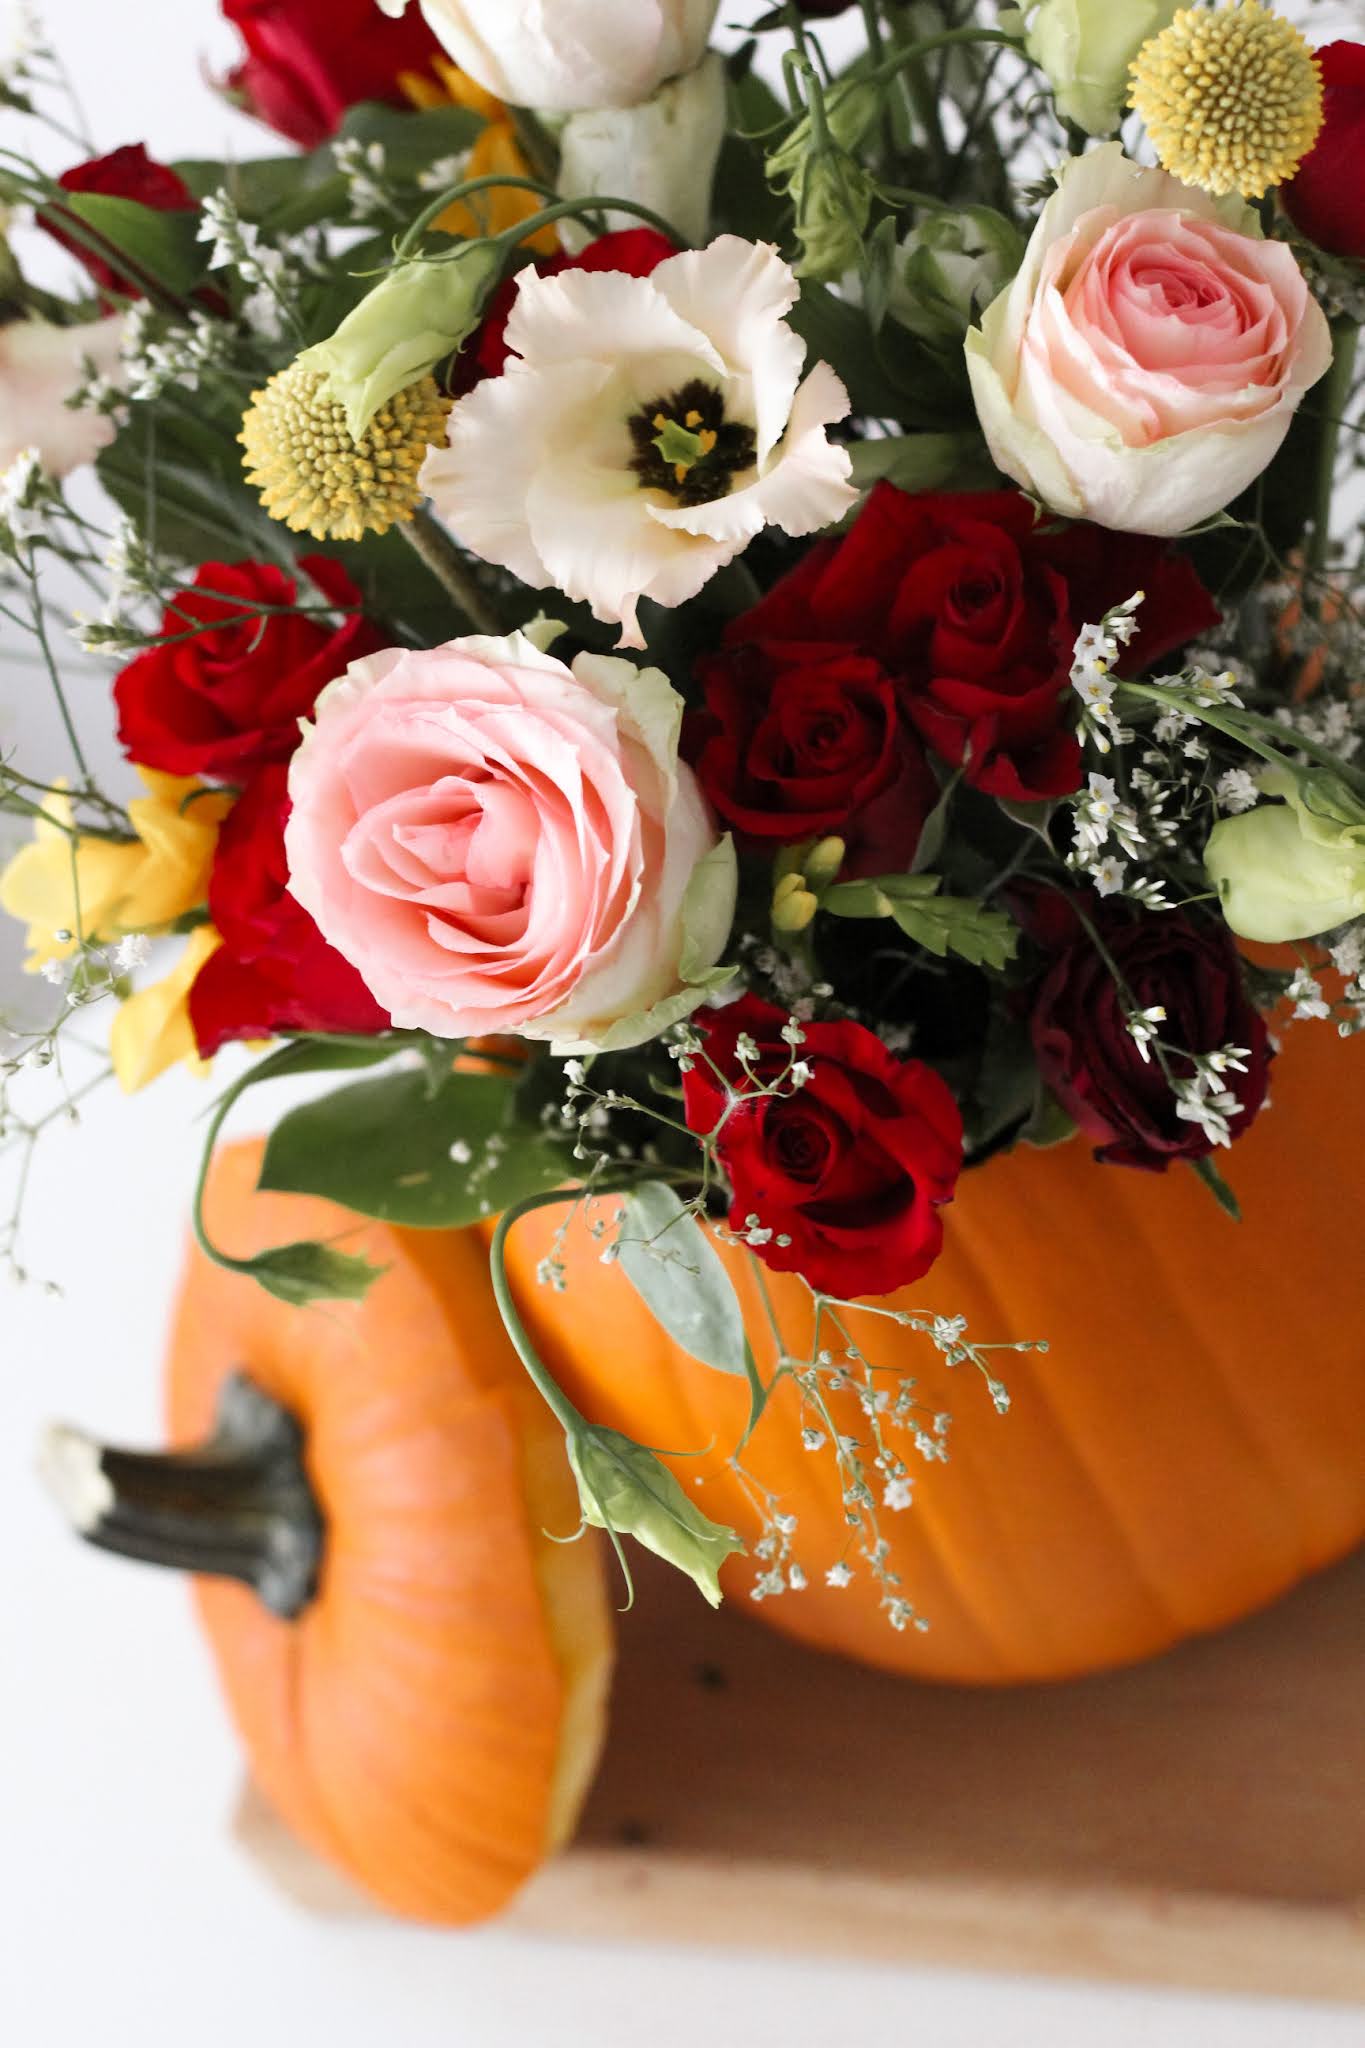
pumpkin flower arrangement

floral pumpkin arrangement

 If like me, you'd prefer to opt for a prettier take on pumpkins at Halloween rather than frightening ghosts and ghouls, you've come to the right place. In this post I'll guide you through how to create a pumpkin flower arrangement like the one I've made below.


What you'll need

  • A large pumpkin
  • A knife for carving
  • A pencil
  • A bowl
  • Autumnal flowers
  • Floristry scissors
  • Floristry oasis

How to create your floral pumpkin arrangement

  1. First you'll need to prep your pumpkin. Ensure your flowers are kept in cool water while you're doing this so that they stay hydrated. You'll need to carve the top off of your pumpkin, you could choose to do this in a curved line or in a zig-zag fashion. I've chosen a curved line for this particular pumpkin. To get a precise line, turn a bowl upside down over the top end of your pumpkin, draw around the edge of the bowl with a pencil, then remove the bowl. Now you have a nice neat line to use as a guide. Stick your knife in and out of the pumpkin to make the first cut, and repeat this process until you've cut all the way around. You should now be able to pull the top off so it becomes the lid.
  2. Using your hands or a utensil, empty out the contents of the pumpkin as best you can. Put the seeds and flesh to one side in a bowl so that you can make the most out of them later in recipes. Meanwhile, measure out the size of your floristry oasis. This will be sitting inside your pumpkin, so it needs to be able to fit comfortably. Soak your floristry oasis in cool water in the sink so that it absorbs all the moisture. 
  3. Once it's fully absorbed, put your oasis block into the inside of your pumpkin. This will be holding your flowers in place and providing them with the water they'll need to keep them looking good.
  4. Prepare your flowers by splitting them into types. For example, put all your red roses into one section, pink in another, and foliage in another. Strip off any leaves that will not be visible or will get in the way of your arrangement. I like to keep a few of the top leaves to bulk out the arrangement and keep it more natural but this is entirely up to you.
  5. Measure your first flower stem down to size by carefully snipping at the bottom of the stem a few cm at a time. Gently insert the stem into the oasis until it stands alone, is secure and sits at the desired height above your pumpkin. 
  6. Build out your arrangement around the first stem by considering colours, textures and varying heights. You can also try inserting the stems at a diagonal angle so that some of the flowers elegantly hang over the edge of the pumpkin, disguising the raw edge from sight.
  7. Once you're happy with how it looks, pop it on display on your side table or even as a centre piece at the dinner table while you enjoy a comforting autumnal feast.

pumpkin flower arranging

floral pumpkin

How to Create a Pumpkin Flower Arrangement for Halloween

Friday 17 September 2021

How to look confident on camera

look more confident on camera
 
how to look confident on camera
confident on camera

The professionals definitely make it look easy but if you're somebody who hates being on camera and struggles to feel confident, you are not alone! Many people feel uncomfortable being in front of the lens but there are ways to appear more confident on camera even when you're not feeling it.

Being a blogger, I'm generally used to having my photo taken but there have been times when I'm shooting out in public and I feel awkward. The last thing I'd want is for that to translate on film so in order to appear more confident in the photos, I'll follow a few steps to combat the shyness.

Keep a natural gaze

My favourite tip is to imagine you're smiling at a loved one or your celebrity crush instead of down the barrel of a lens. This will (hopefully) make you feel more at ease, and keep your smile feeling more natural rather than forced. Try to avoid fixating your eyes on the lens by keeping your eye movements relaxed. If you need to, take a brief moment to look away or look down before looking back at the camera.

Fix your posture

Fixing my posture and standing tall always makes me feel more confident, whether on camera or just in real life! Keep your core tight, pull your shoulders back and neck tall, but do so without tensing. Tensing will make you look more rigid which is what we're trying to avoid.

If in doubt, smile

It's no secret that your facial expression will be a big part of how you'll translate on camera. Try to relax your facial muscles. Don't be afraid to try a few funny faces if it'll make you feel more at ease and if in doubt, just smile!

Consider your body language

Personally, I like to experiment with poses. I'll create movement by positioning my arms, hands and legs in specific positions. One of my go-to stances is to stand tall with one leg in front of the other, clutching or gently swinging a handbag. If you follow me on Instagram, you may be already familiar with this one!

Dress for the occasion

Wear an outfit that you feel most confident in. Do you see those black heeled boots in the pictures above? Those boots make me feel like I could take on the world. It's important you feel happy in what you're wearing so dress with comfort and confidence in mind.

Stay cool under pressure

When we're the subject of a photographer, it's easy to be extra hard on yourself in that moment. Before the image has even been taken, you may find yourself already thinking "oh, I'll look awful". Don't! Give yourself a chance by remembering it's only a photo - a photo that can be ripped up and deleted if needed. You never know, if you're happy with it, it could be a photo that you cherish for years to come and use to remember a fond memory.

Shop the look


How to look confident on camera

Monday 28 December 2020

Reflecting on 2020 and What It Has Taught me


2020 has been a year like no other. It'll be no surprise that I've been pondering the content of this post for weeks already; wondering where on earth to begin and how to phrase a year that has caused us all so much distress, sacrifice and pain in a positive light. Although it's been a tough year, with each year passing there will always be lessons to learn, things to be grateful for and reflections to be had.


Like others, I've had my low moments this year and at times, I've felt guilty for it. A key lesson I've learned this year is that all feelings are valid. We'll all be going through our own troubles, some will be worse than others but that doesn't mean your problems hurt you any less. 


As our normality shut down back in March, I began working from home full time for what I thought would be a maximum of 12 weeks. This time last year, if you'd have told me I'd be working from home for 10 months and still ongoing until further notice, I'd have never believed you. What it has taught me is that I am much more resilient than I give myself credit for, so much so that despite it all, I received a promotion this year. I also recognise the privilege that is working from my home when others may have much tougher conditions to cope with. It may be small, rented and claustrophobic at times, but it's quiet, clean and facilitated with all that I need to continue working. For that, I am very grateful. 


In 2020, I realised the sheer strength of my love for my family and friends. Prior to this year, I'd travel home to see my family every 2-4 weeks on average. Due to the several lockdowns and coronavirus restrictions, I have hardly seen them this year. I've had moments of pure frustration. I've felt upset and angry at the time that has been stolen away from us to be together, but my care for them is greater and stronger than anything. Keeping them all safe and healthy is a priority and once the pandemic is over, I'll give them the biggest hug ever (probably sobbing everywhere at the same time).


I'm incredibly lucky to have had my partner by my side this year. He's been the one picking me up in those challenging moments and getting through it all together has been a testament to our love.


Throughout the ups and downs of the last 12 months, the support of my blogging community has remained. Sometimes I find it tough to share my vulnerability online but each time I have shared my soul with you, you've shown me kindness and I am extremely thankful. At times when I've felt alone, you've reminded me that I am not and I hope that I remind you of that too. 


It wouldn't be right to talk about 2020 without dedicating thanks to our frontline staff and essential workers. You've really carried our country through this year. Your resilience, hard work and bravery is admirable and no words will ever express our gratitude for the heroes that you are. Thank you for all that you have done and continue to do for others.


Who knows what 2021 will bring for us but what I do know is that we will face it with the same courage, strength and togetherness that we have faced this year with. I pray for brighter days ahead and I wish you a safe, Happy New Year. 


Love, 

Evie xxx


Reflecting on 2020 and What It Has Taught me

Saturday 12 December 2020

Christmas Decorating Ideas for Small Spaces

Christmas Decorating Ideas for Small Spaces

Decorating your home for Christmas is such a joy but it can be a challenge within itself, especially if you only have a small space to work with. We live in a one bedroom flat, just the two of us. It's lovely but it's not great on the storage side of things and it can feel a little cramped at times. Although, that hasn't stopped us from enjoying the festive season and Christmas decorating.

Here's some Christmas decorating ideas for small spaces that have helped me decorate our small apartment...

Ad - This post contains affiliate links, which means I'll receive a commission if you purchase through my link, at no extra cost to you. You can read more here.

WREATH DECORATION, FROM FRONT DOOR TO FESTIVE CHEER!


One of the most heart warming decorations to enjoy at Christmas is a festive wreath. Whether you buy a wreath already decorated or decorate it yourself, they're such a delightful, neighbourly sight when you come home at the end of the day. One of my favourite things around this time of year is seeing houses with their festive decorations up, each unique with a personal touch. I don't see why apartments should miss out on that?

I decorated our wreath this year using a wreath kit. I loved every second of getting my creative juices flowing and decorating it exactly how I wanted. Discover my guide, 'How to Decorate a Christmas Wreath' here


Christmas Wreath Decoration

Christmas Wreath

OH CHRISTMAS TREE, OH CHRISTMAS TREE


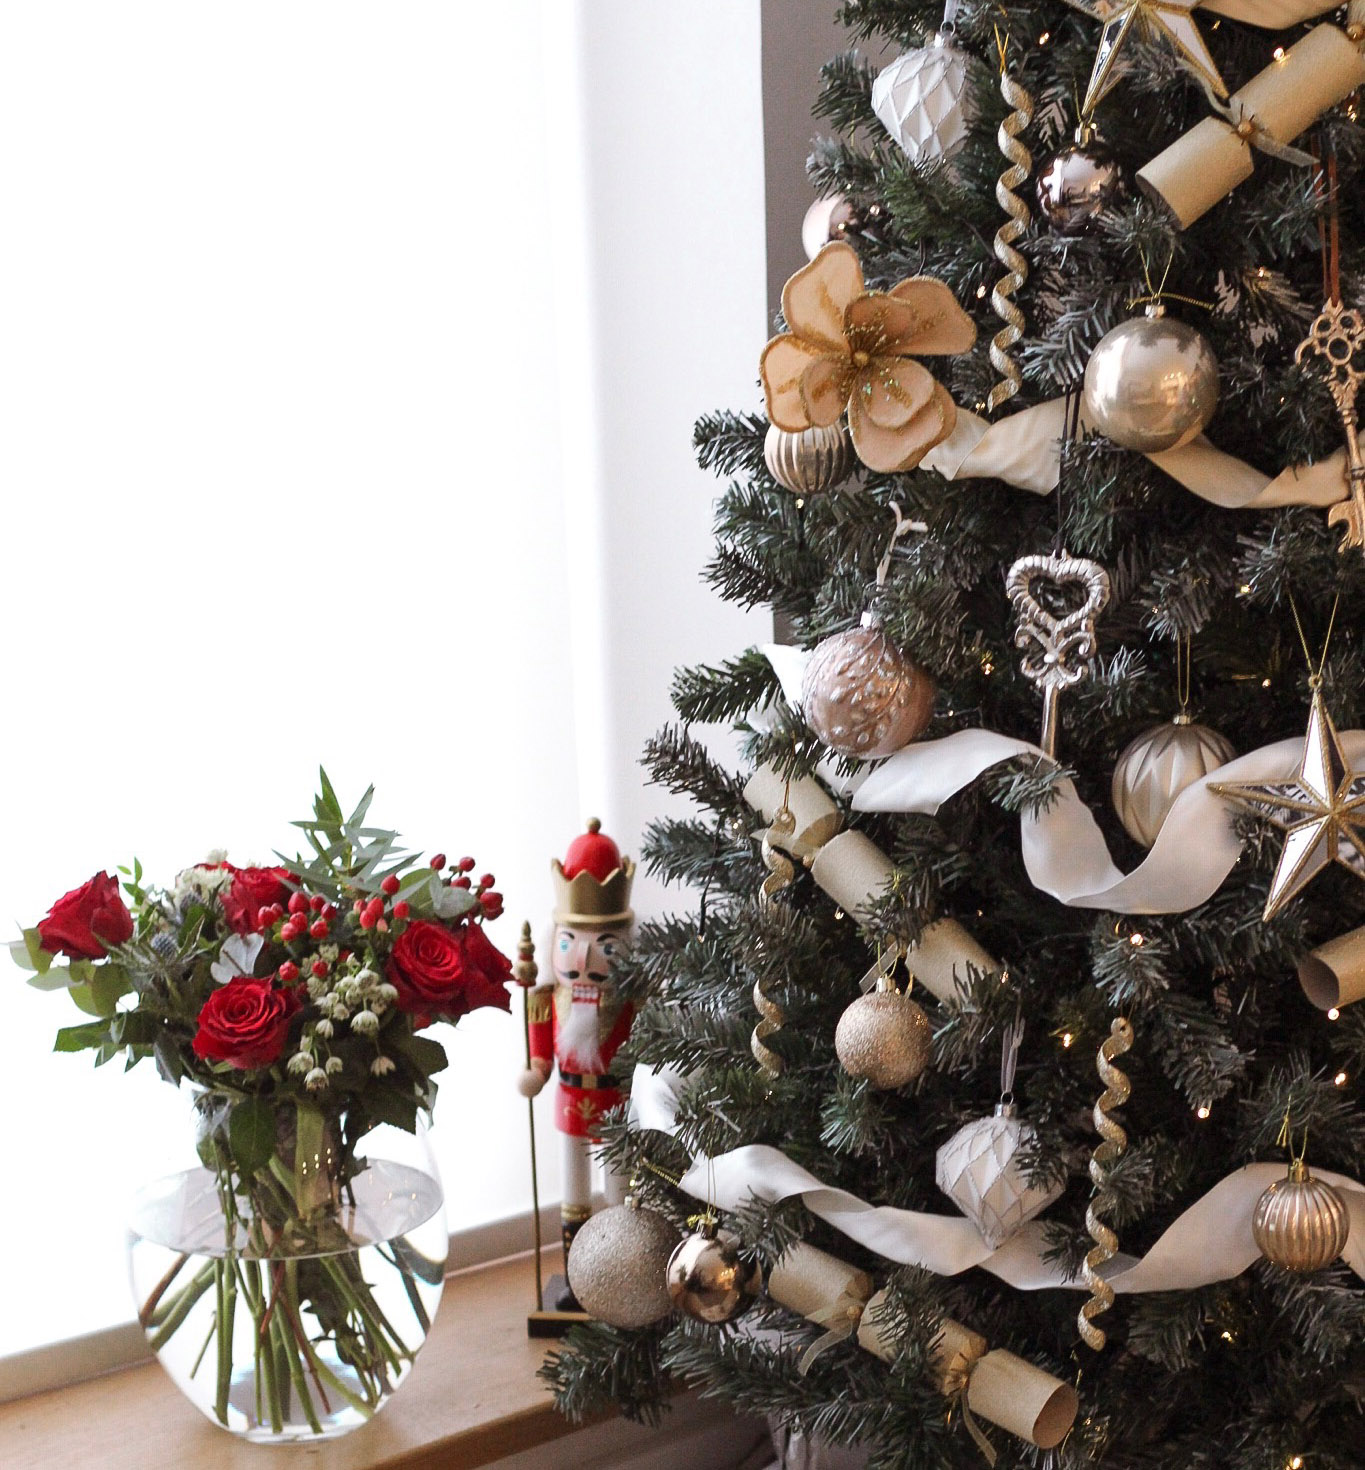
Coming home to the smell of a real Christmas tree is such a privilege but when you have a smaller space, it makes much more sense to invest in an artificial tree that is easy to set up and store each year. We bought ours from B&Q a few years back and it has served us well so far. I must admit, it was one of the most affordable options and it's a bit dark in colour for my liking but it does the job and looks lovely once decorated. To give it a frosted look, I have invested in a snow spray in the past which worked really well. Having a smaller space, we couldn't invest in a proper tree base because we can't store it easily and it would be wasteful not to keep it for years to come. As a solution, I wrap my faux fur blanket around the base. The blanket is light brown in colour, almost replicating soil and is lovely to lay the presents on.


Christmas Tree Decorations

Christmas Tree Decoration

NUTCRACKER NOSTALGIA 


Bringing character and cheekiness are my Christmas nutcrackers. My parents bought us these as a gift and I completely love them! They take me back to being a little girl watching the film 'Barbie In The Nutcracker' on an old school chunky TV. From mini ones to giant ones, just sit them on a shelf or alongside your tree for instant festive fun.


Christmas Nutcracker

Christmas Nutcracker Decorations

Christmas Nutcracker Decoration

CANDLES FOR FESTIVE AROMAS


When dressing our space for Christmas, I like to consider experience as well as appearance. Although the sight of Christmas decoration ignites such a warm and cosy feeling, the smell of Christmas is equally unbeatable. The warm festive glow and satisfying scents of candles are certainly a key element of festive decor not to be missed.


FESTIVE FLOWER ARRANGEMENTS


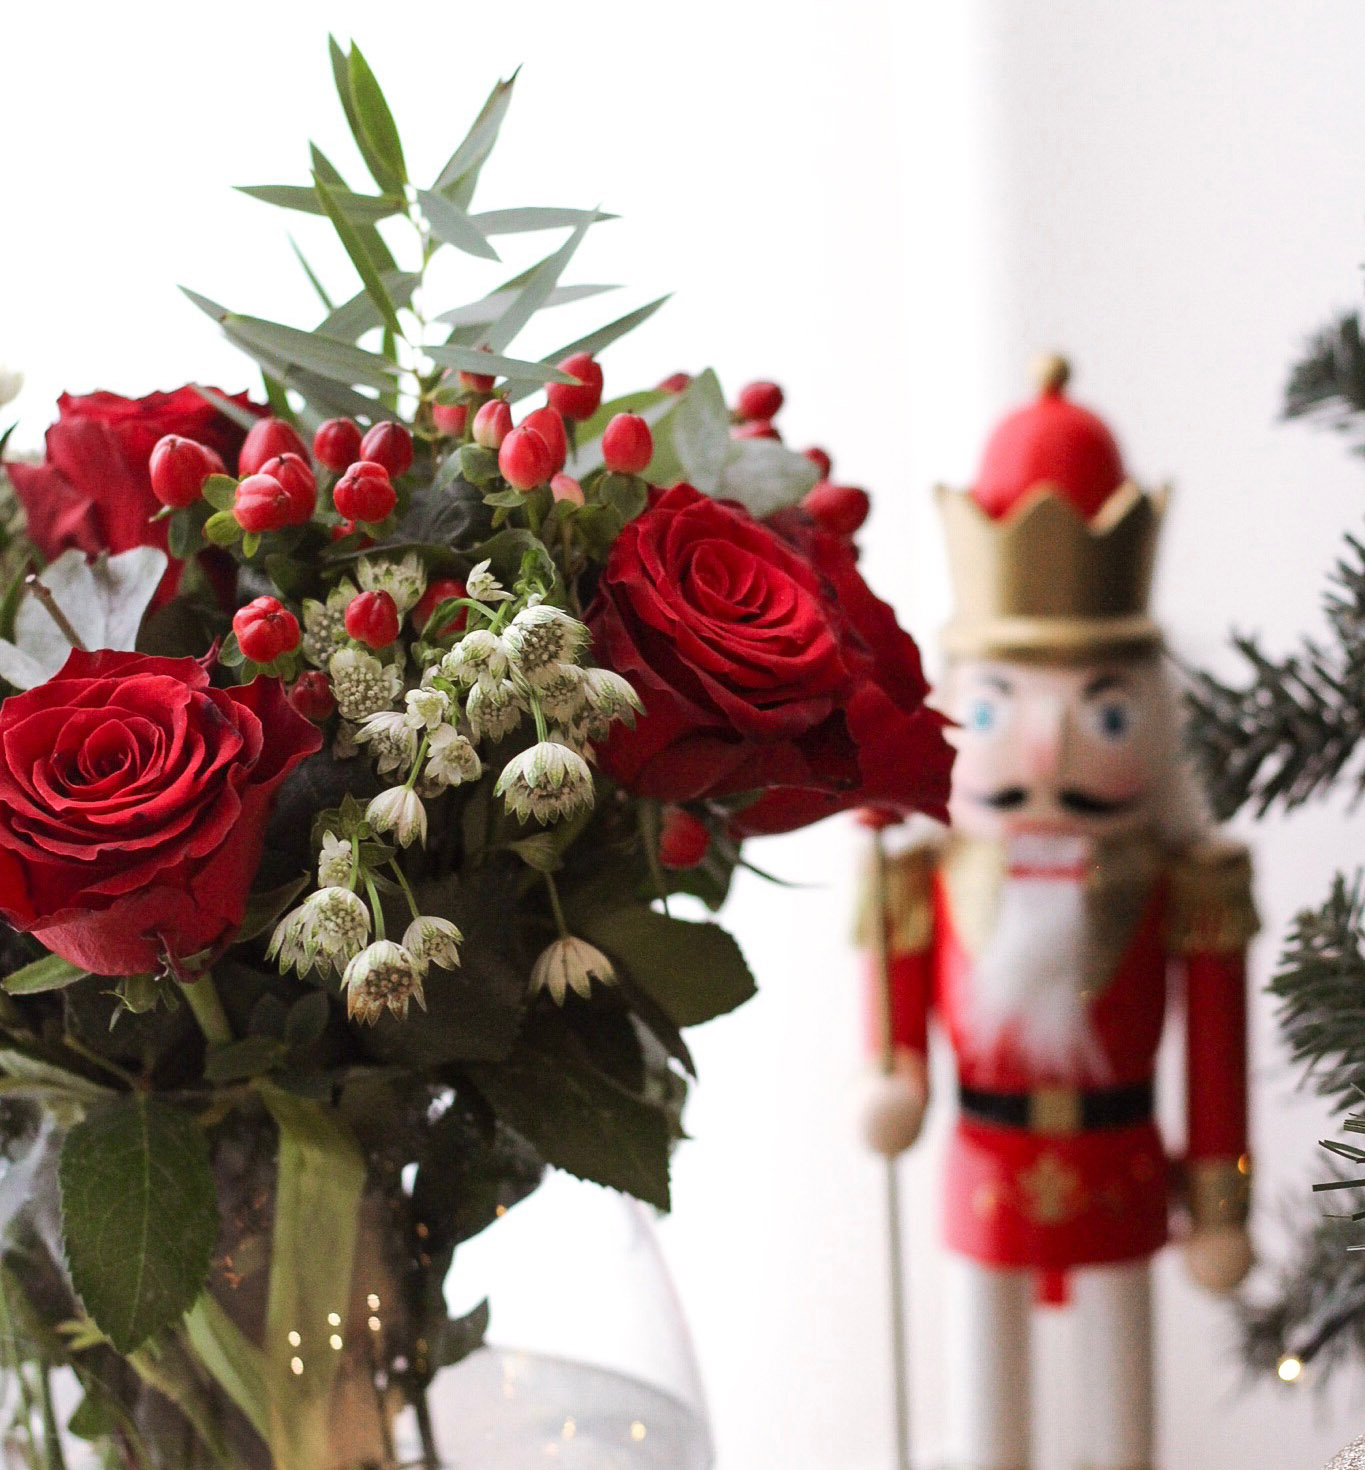
Flowers at Christmas are such a delight! Festive greens and deep romantic reds are one of my favourite combinations for this time of year, along with snowy whites and pretty pinecones. Whether they're a centrepiece for your Christmas Day dinner table or a special gift from a loved one, flowers are a very special touch. Seasonally, you'll find most florists combining beautiful roses with bountiful chrysanthemums,  festive foliage and berries at this time of year.

Festive Flower Bouquet

Christmas Flowers

Follow me on Instagram for more ideas @evieroselane


Christmas Decorating Ideas for Small Spaces

Sunday 6 December 2020

How to Decorate a Christmas Wreath

christmas wreath

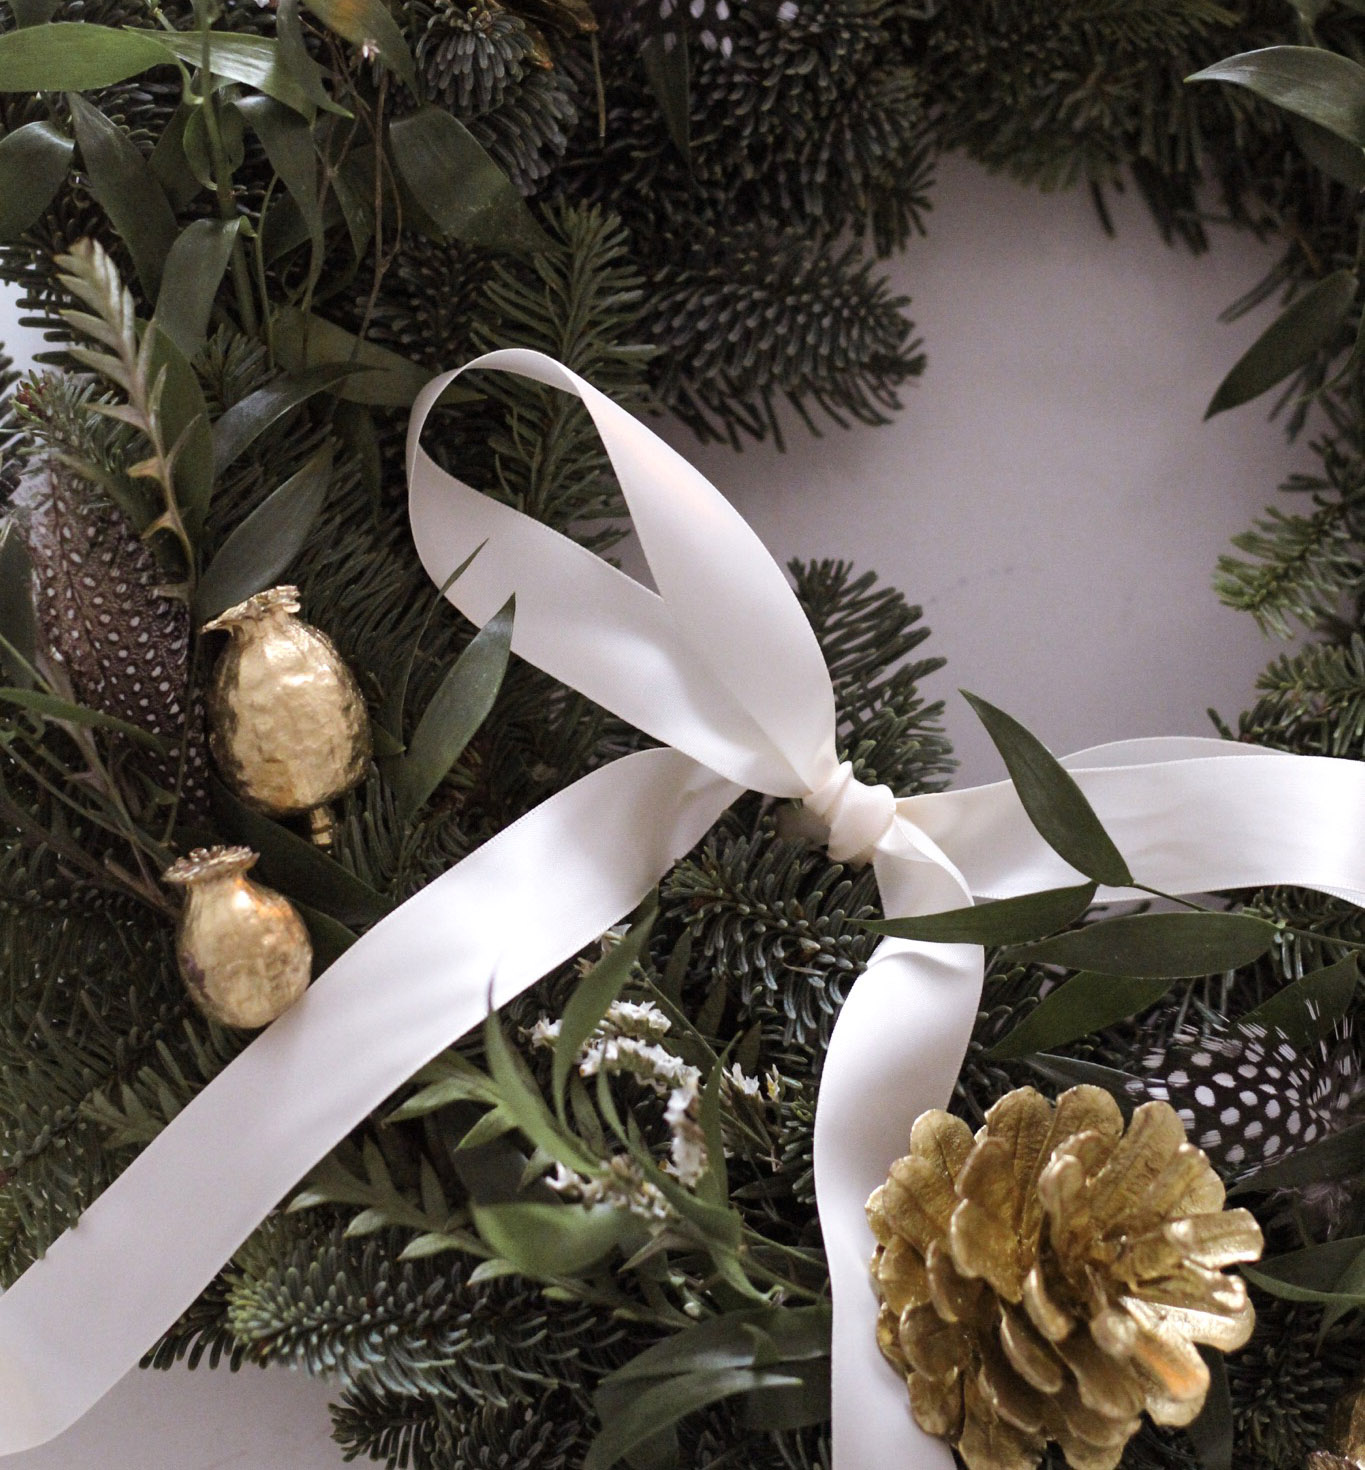
close up of wreath

For the first time this year, I got stuck in and decorated my own Christmas wreath. Despite the perfectionist in me, I found it surprisingly straight forward and effective. Having a hand in the creation process and personalising it myself certainly made it even more special too. 


HERE'S HOW TO DECORATE A CHRISTMAS WREATH...


Ad - This post features affiliate links and PR products. Find out what this means here.

You'll need:
- A pack of thin wire (like this)
- A pre-prepared wreath base or wreath kit (I got mine from Bloom & Wild, get £10 off your first order here.)
- Items for decoration
- A bunch of mixed foliage
- Ribbon (I used this one here)
- Floristry scissors (like these)


1. Firstly gather up all your decorative items and separate them into clear piles by type. I used gold sprayed seed heads, pinecones, guinea fowl feathers and a collection of different foliage for mine!

2. Trim your foliage into sprigs around 3-6 inches long in length. You can bunch 2 or 3 sprigs together or keep them separate. 

christmas wreath kit


3. Next take one wire and tie it around the base or stem of your decoration. Leave one end of wire two thirds longer than the other and twist the shorter end around the remaining wire so it's neatly concealed. If you're using feathers like me, you should be able to poke these in without needing wire.

4. Placing your wreath on the table in front of you, position the first foliage or decoration pointing clockwise. Once you're happy with the position, feed the wire through the back of your wreath, fixing it around the back with the remaining wire.

decorating a christmas wreath


5. Carry on adding your decoration and foliage around your Christmas wreath. A good tip is to add your decorations pointing the same direction and evenly space out the different types.

6. Finally tie the ribbon in a bow on the top or bottom of your wreath. You can also tie a smaller length of ribbon in a small hoop at the top on the reverse side to hang your wreath to the door or wall.

If you gave wreath decorating a go after this post, let me know in the comments or tag me at @evieroselane on Instagram!

finished christmas wreath


footer logo


How to Decorate a Christmas Wreath

Evie Rose Lane - Life & Style © . Design by FCD.